![]()
THE A AND B RANGE CONSOLE PROJECT
A/B TRIDENT CONSOLE.
I am producing music again. Since the last studio setup I had things sure have changed!
I have tried to use Pro Tools but find it totally against the way I produce and record.
I find starring at a computer screen is a big distraction and using beat correction and pitch correction takes
all the life and drama of the music away! I have decided to go with the IZ radar and high end converters . I also have 3 Stephens 2" multitracks when the session calls for analog. I will not get into the philosophy of my production theory here.
Now on to the console. I own an A-range and B-range trident console and they came from my old studio set up. I needed a portable system that I could take anywhere and set up quickly.
I decided to shrink the system down with NO compromise!
I will update this page as I get stages done.
_____________________________________________
Here are some of the design and engineering steps.
_____________________________________________
1. 24 , b-range inputs
2 . 14, A-range inputs
3. build 24, shrunken down A-range monitors.
4. design a new routing module.
5. build a roll-around 4 sub and L/R section .
6. Ext eq bank 10 GML, 12 ITI, etc etc..
7. All inserts are now on relays so no audio leaves the module unless it is desired
* The system needs to be on wheels and easy to set up..
__________________________________________________
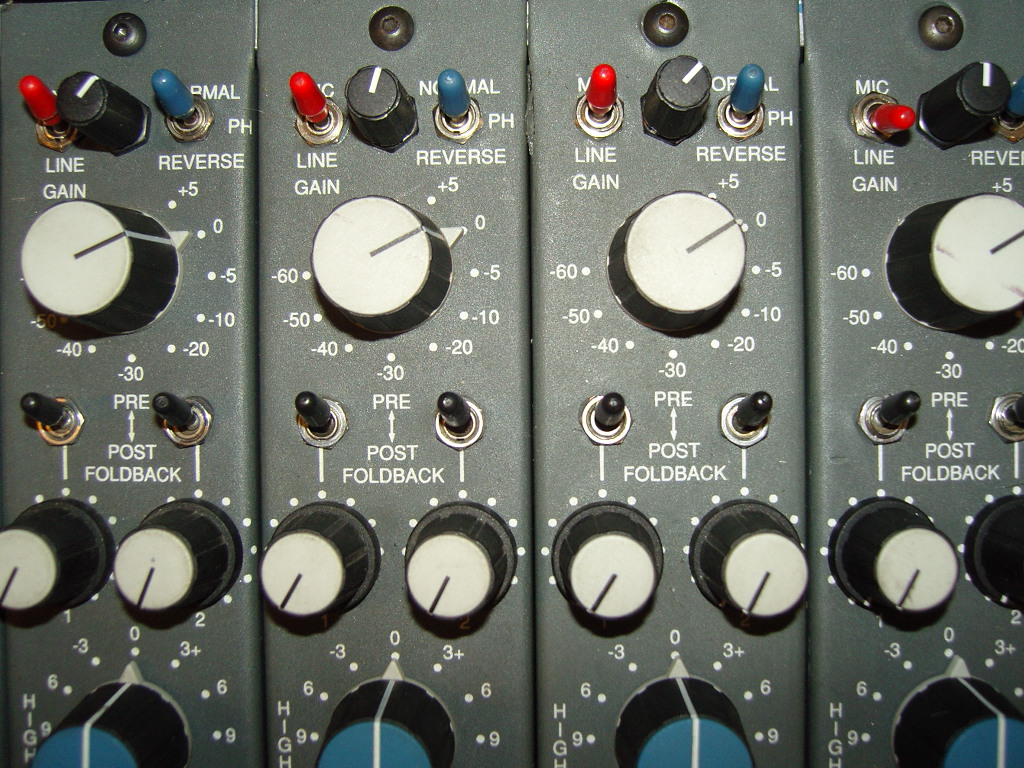
Mods to B-range inputs
_________________________________________________
1. Added a direct out with separate level control .
The direct runs through a A-range op amp and then a custom made output transformer.
2. The original B-range had no line in transformer.
Now it is selectable A-range input transformer or original non-transformer input.
3. Re-engineered the gain structure.
re-designed the gain structure as it was poor to begin with.
Now it has 10db lower noise floor and +35dbm out max!
4. Increase aux sends to 8 instead of four
____________________________________________________________
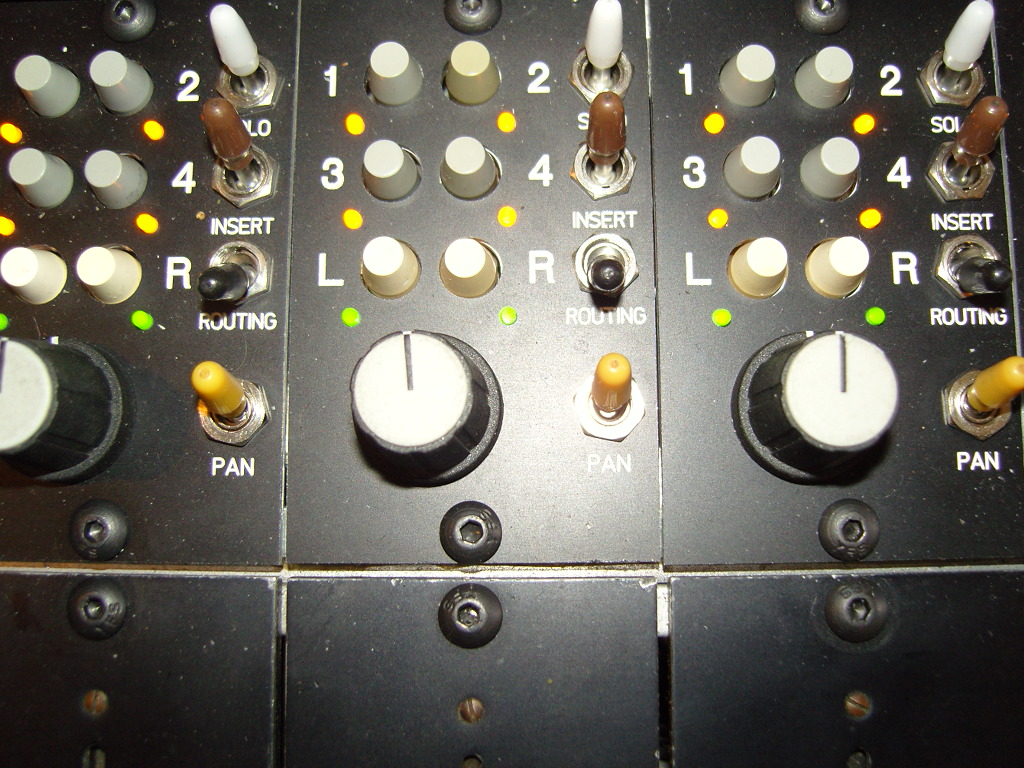
Routing module
____________________________________________________________
1. Removed the 16 buss routing modules.
I only wanted 4 subs and installed the new A-range monitors were
the old routing module was.
2. build new routing modules and install above faders.
________________________________________________________
Monitor section
________________________________________________________
1. Clone the A-range monitor module and shrink it to the size of the old
routing module.
The original A-range monitor had a great two band eq!
This gives an extra 24 channels for mix down with eq.
I also have a relay insert that is for accessing the gain,pan and auxes .
This is for mix down when I want to use an input module like an A-range or what ever
and have the l/r accessible.
______________________________________________
Aux Sends
______________________________________________
1. Master aux & FB send all have A-range op amps and the same great
two band eq.
2. Increased to 4 Auxes and 4 FB
______________________________________________________
L/R
______________________________________________________
Totally our design.
Has a mix of A-range ,API and my designs
______________________________________________________
Frame Work
______________________________________________________
The Frame on almost all UK consoles sage in the center and causes plugs to
not seat correctly and other issues.
Because I need this to be portable I needed to rebuild it from scratch.
I have used 1 3/4 inch aircraft aluminum square tubing and steel.
It now is as strong as a battleship
I also have discovered over the last Ten years the magnetic and electrical noise in
a control room has increased incredibly! For this reason I have completely MU metal shielded the console and modules and used copper sheet for electrical shielding .
I also had to come up of a way to make it easy to move through a doorway.
I made it so it folds up and rest on the bottom section that houses the patch bay and Radar recorder.
###########################################
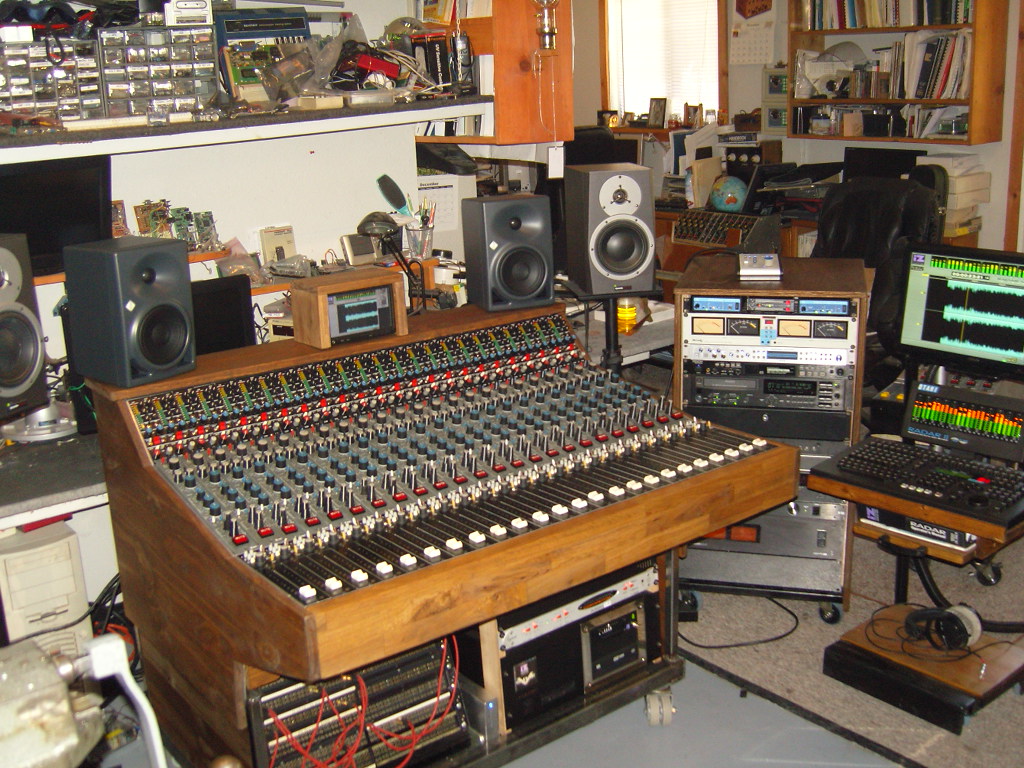
Here are a few photos.
I will have many more and a separate page for them.
______________
The plan
---------------------------------------------------
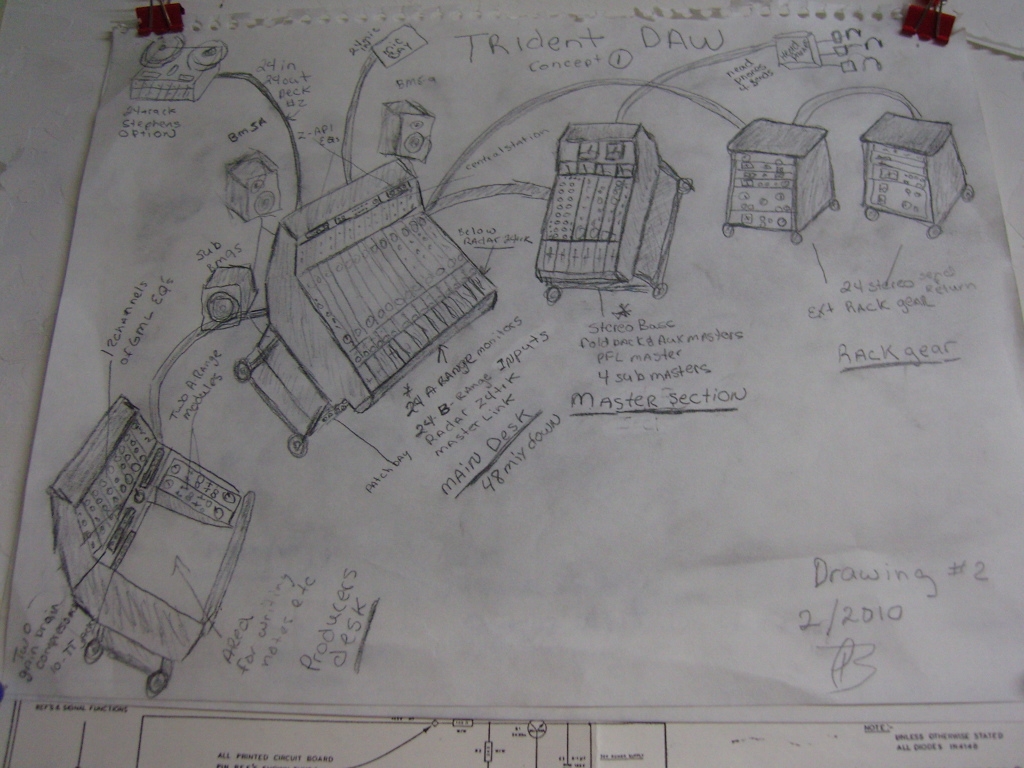
I am getting so close to the finish line
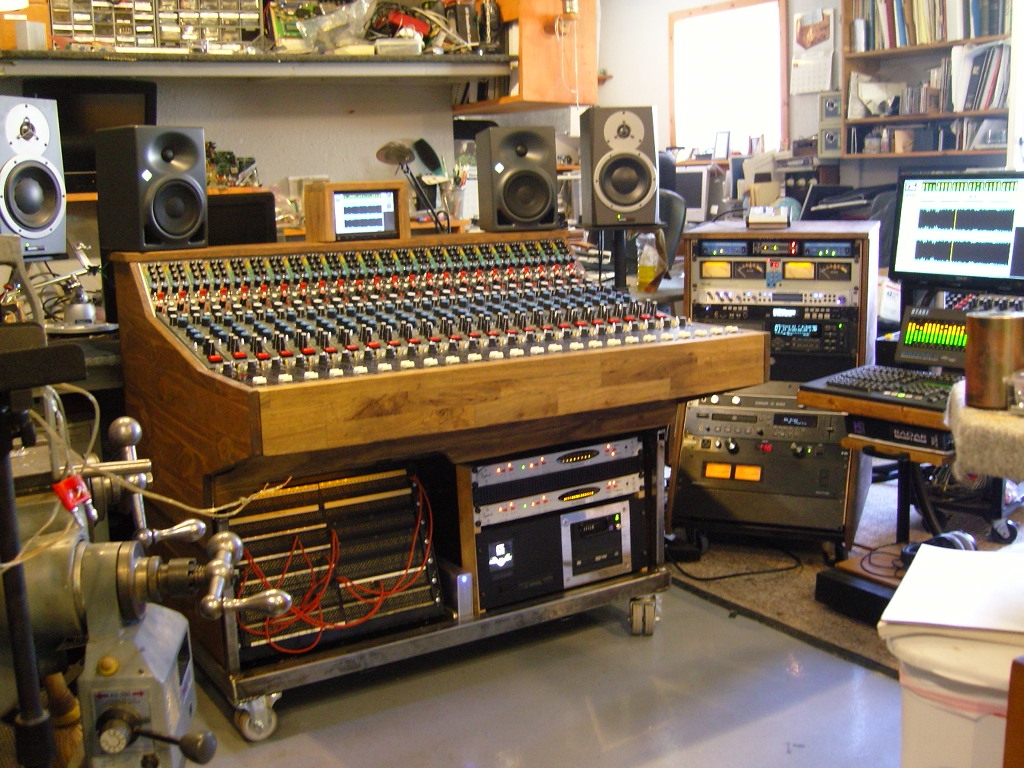
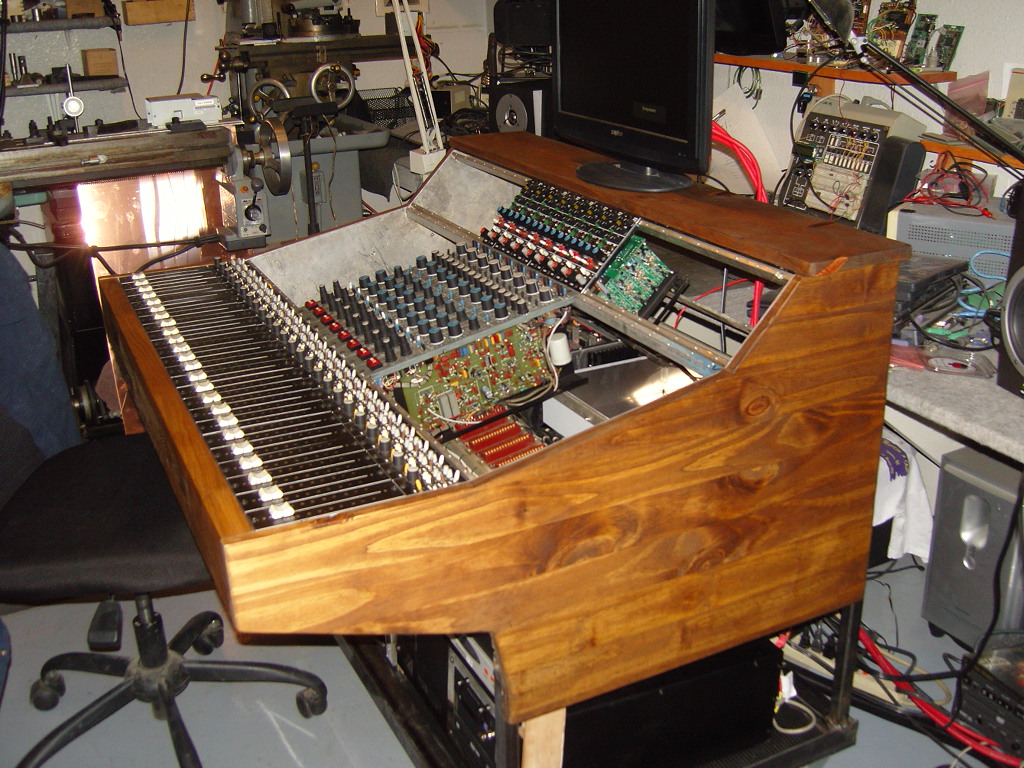
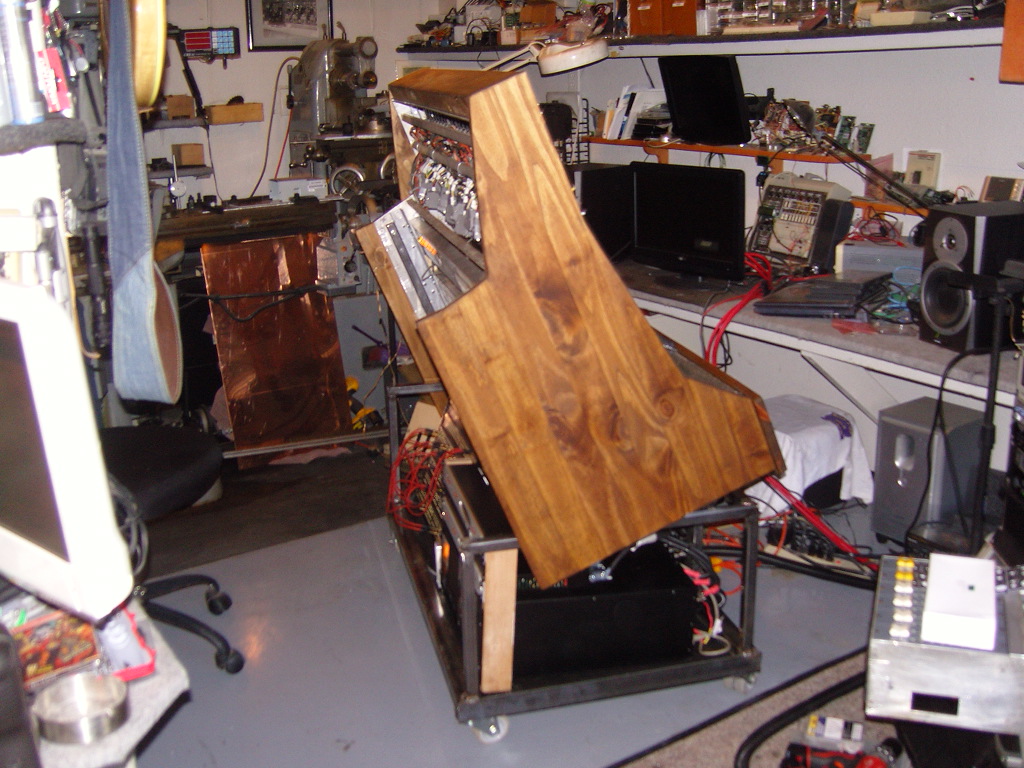
Frame Work
------------------------------------------------------
It now rolls through a 27 1/2 inch doorway!
The wood is just a mock up. I plan to use hardwood and pine is cheap
to see what works before cutting into hardwood!
(click photo for more Frame work photos)
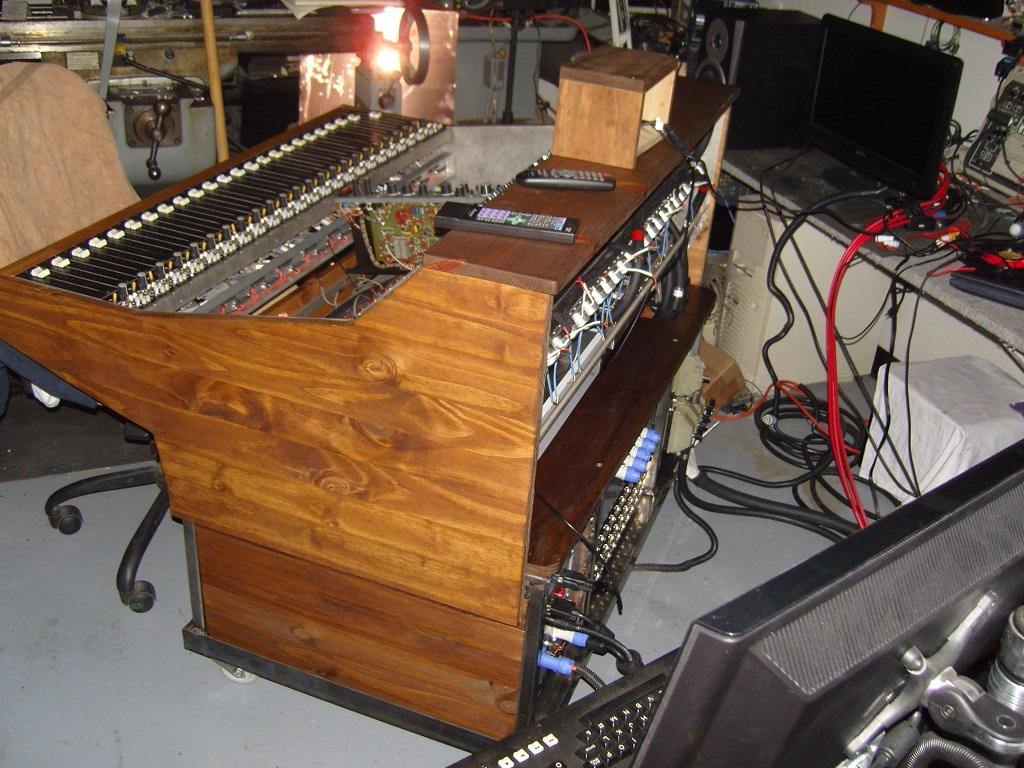
I installed a 7" monitor on the console top
The console has 3 vga outputs to drive up to three monitors
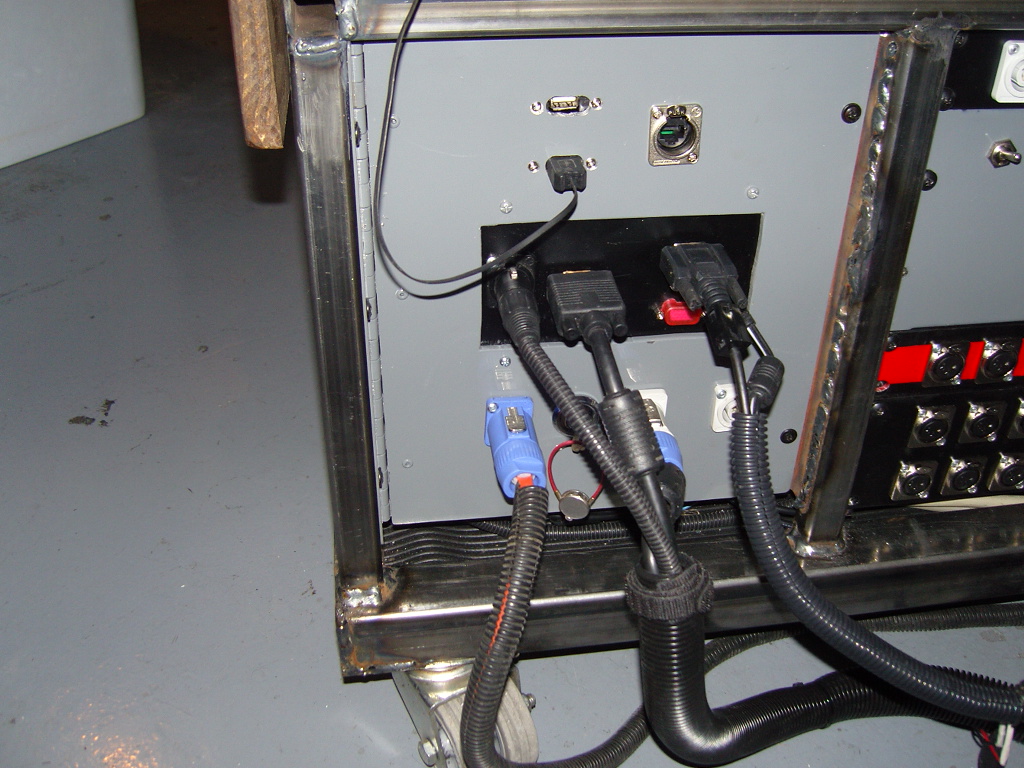
Mic's, active speakers a,b,c, outside world connectors, ac power w/ground lift for
monitors, All Radar connections ,Main power in, DC power in ,VGA monitor
are now all mounted on back of console for quick connect and disconnect.
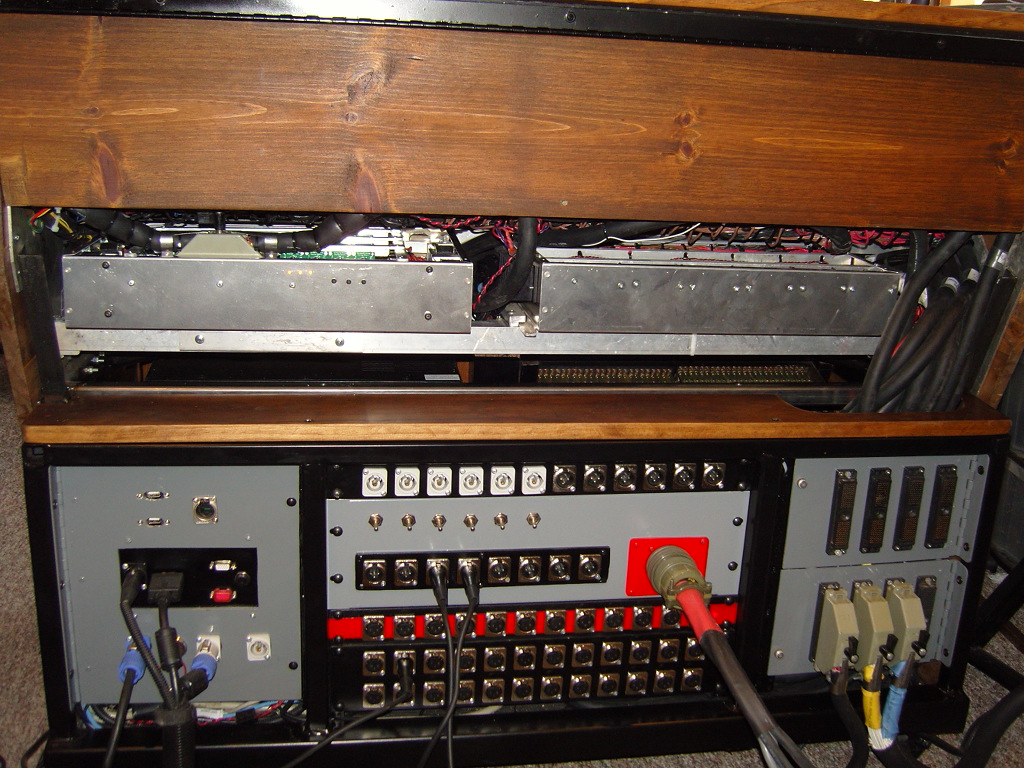
I extended all Radar connections to the hinged back panel
so the remote can be connected and disconnected easy.
It also has 2 usb, 1 ethernet and 3 SVGA monitor ports to drive 3 monitors.
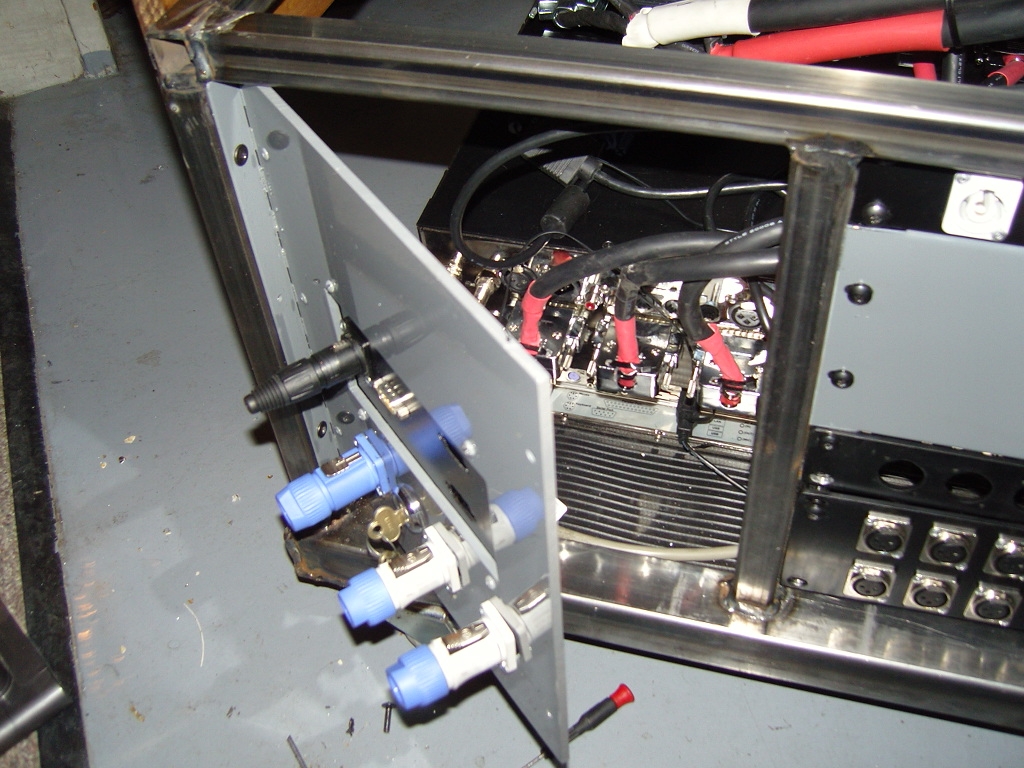
It took me awhile to come up with a way to fold it up safely.
Now it is easy , just pull a pin lift and lock in place for moving it.
It rolls through any doorway. Only 27 1/2 " wide in this position.
I can move it all by myself!
Try that with any large format console!
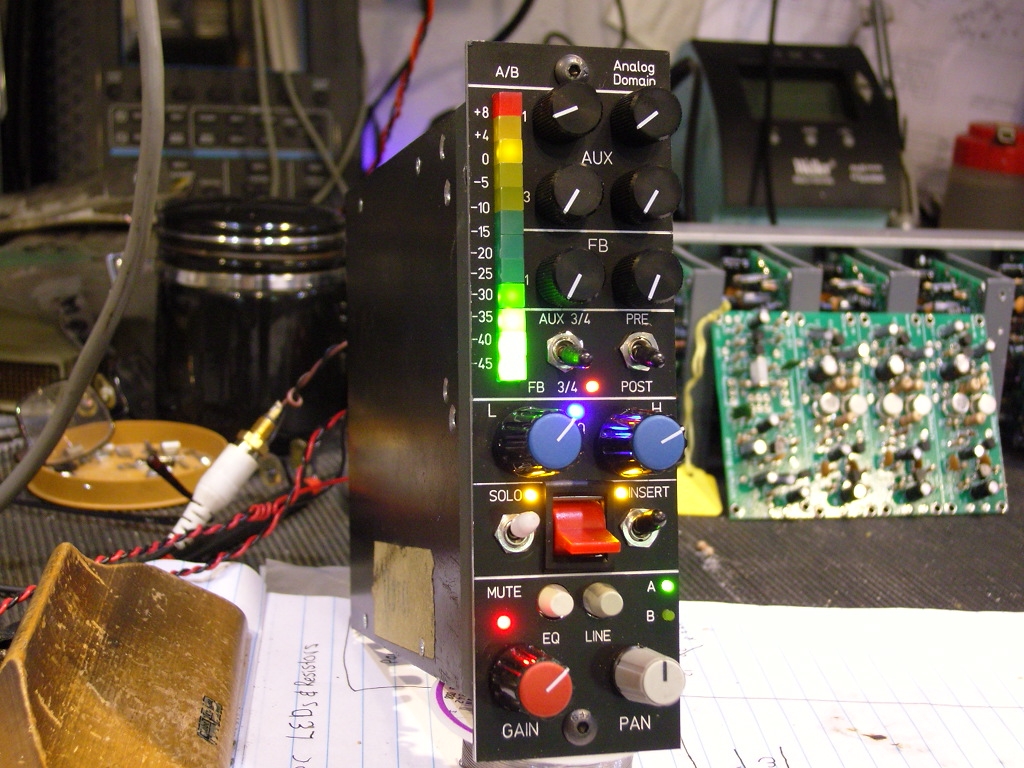
Shrunken A-range monitor
-----------------------------------------------------------------
I cloned the original in every way. added a few new features but same audio path and
eq. I also did not want to add the meter bridge above as the size is everything.
so I designed a peak hold VU that is also in the monitor module.
The insert switch allows the pan,gain and aux to be used for inputting one of the many
other channel types like A-range,Sphere,Angus etc..
There is also a ext fader system for mix down.
All signal paths are on relays so no audio leaves the module until you want it to.
Special thanks to Front Panel Express for doing an outstanding job on my plates
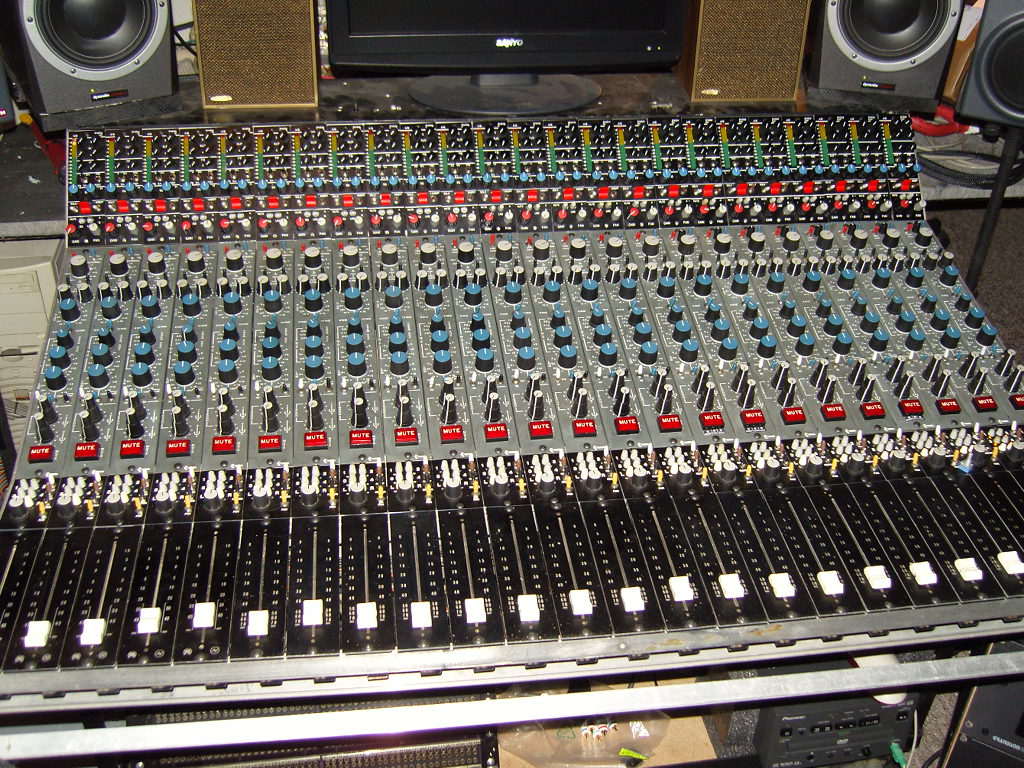
Monitors installed
Direct out (A-range op amp and transformer)

Cannon DL plug and patch bay wired
working and sounding amazing!
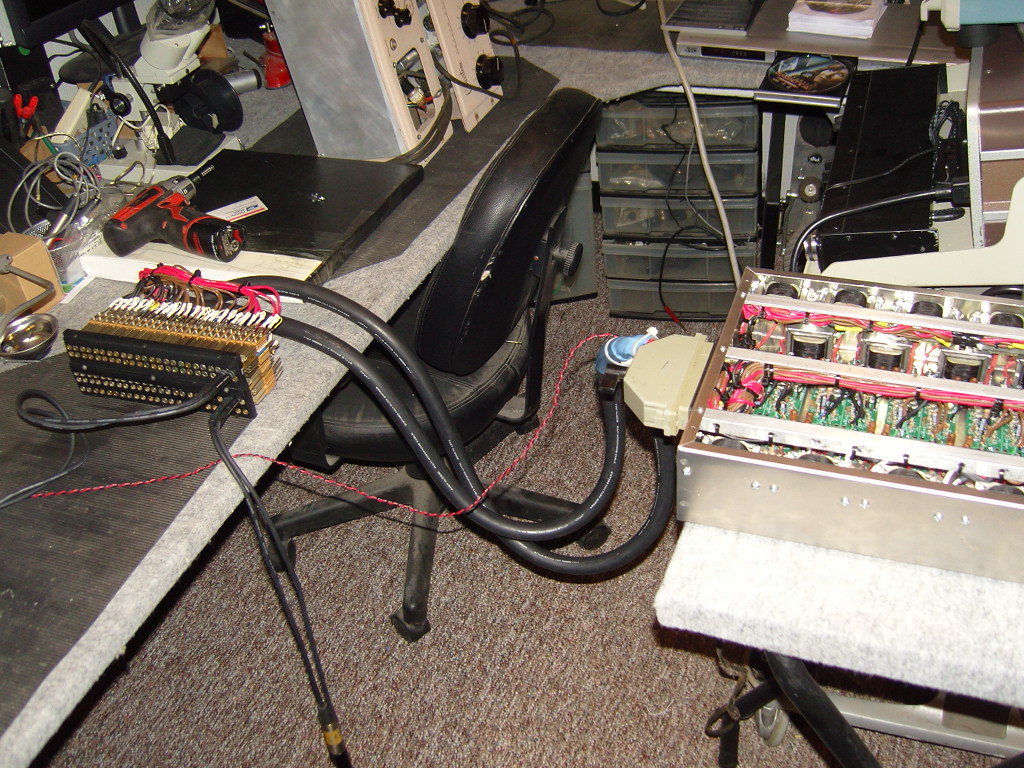
Direct out knob ( black knob between line/mic and phase switch)
New routing
---------------------------------------------------------------------------
Special thanks to Front Panel Express for doing an outstanding job on my plates
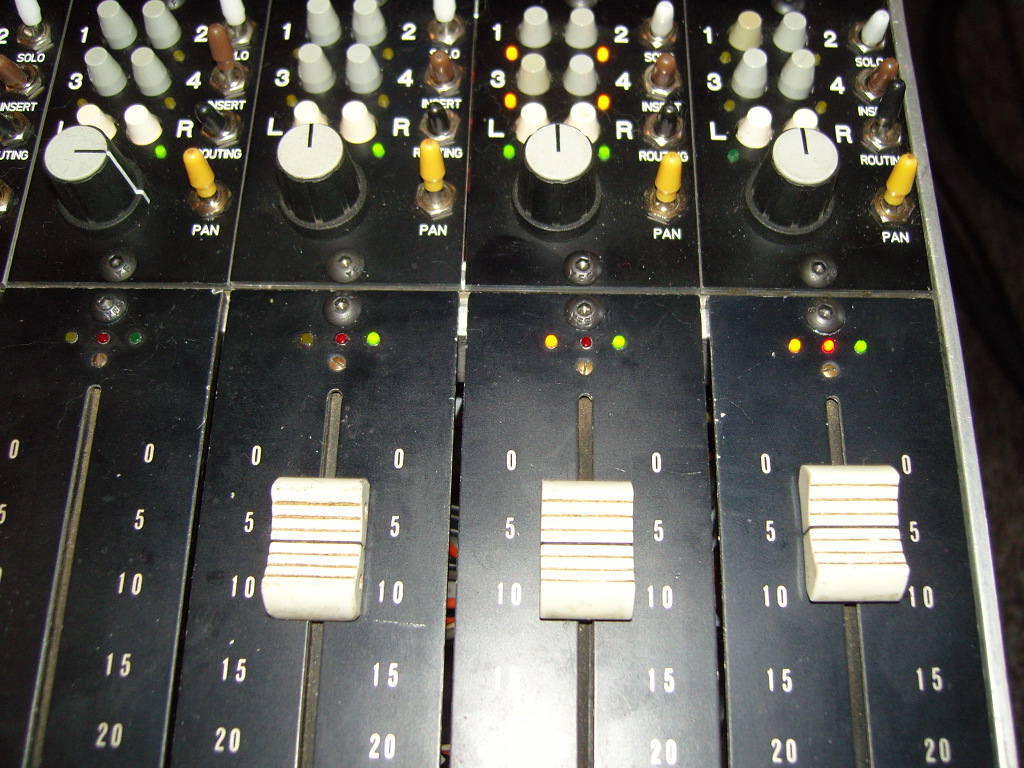
I also added status indicator LEDs in the fader.
If solo ,insert or routing off is selected the leds show you.
Yellow-solo , red- routing off and green insert on..
No more hunting down a solo switch that was pushed
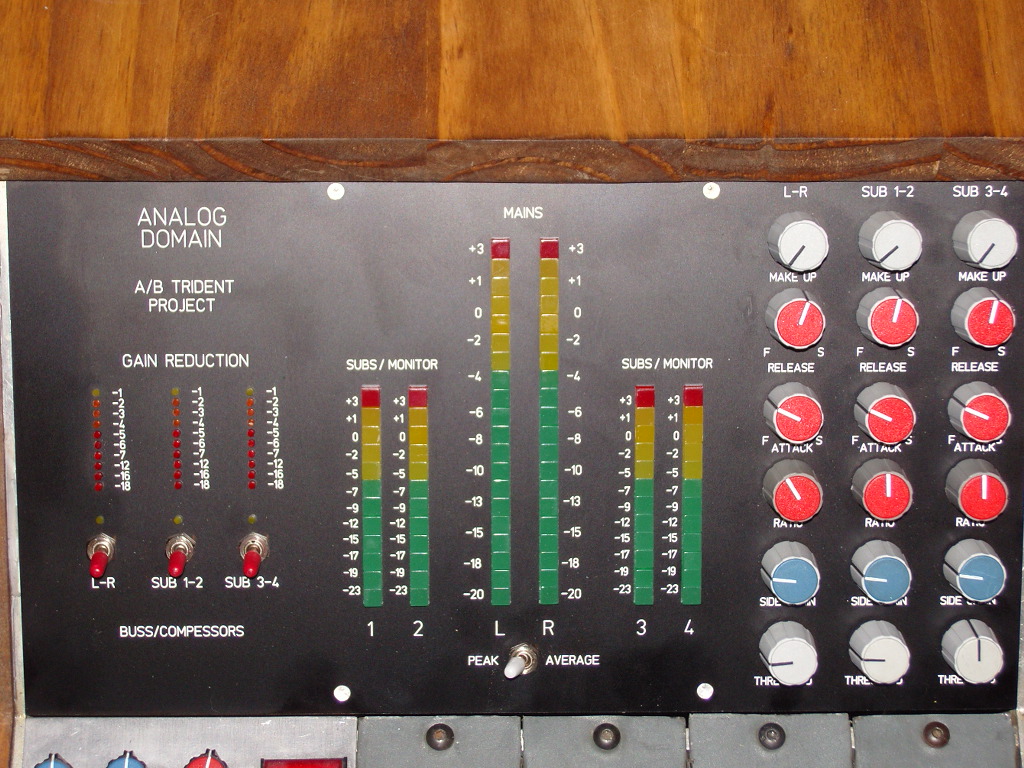
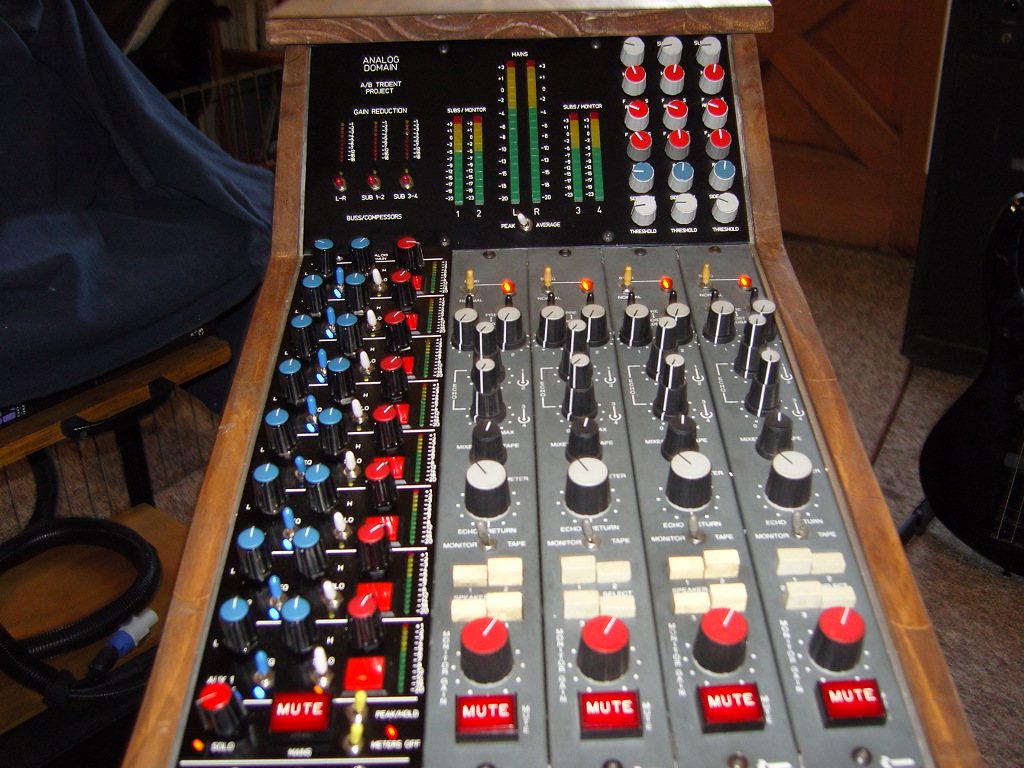
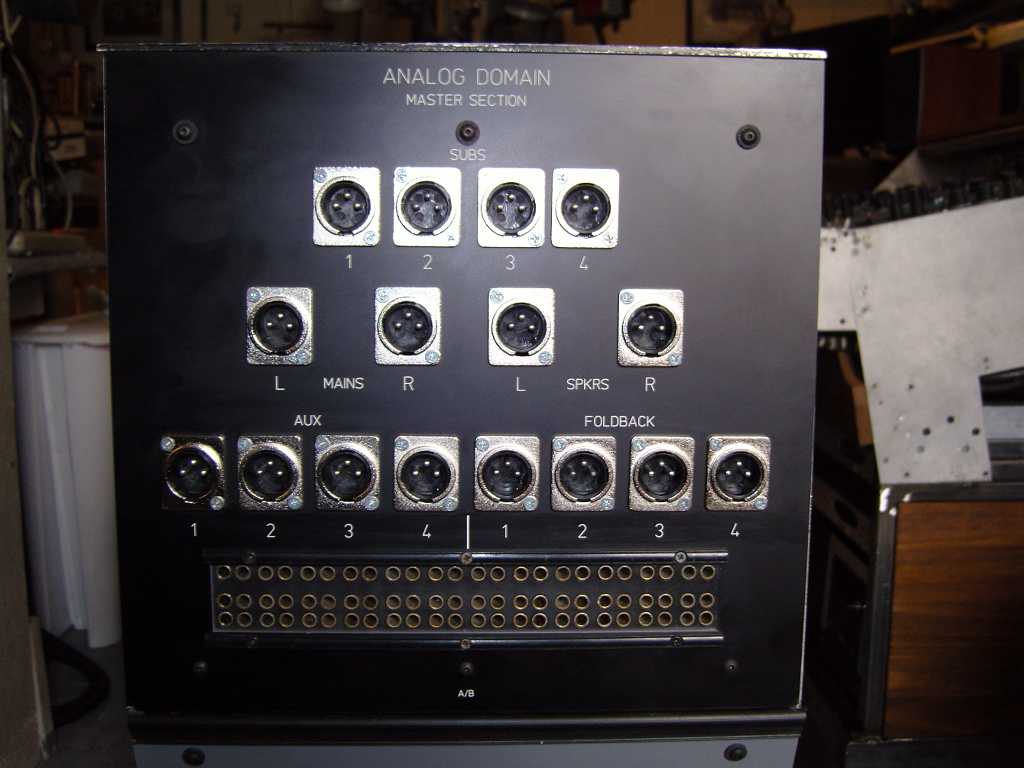
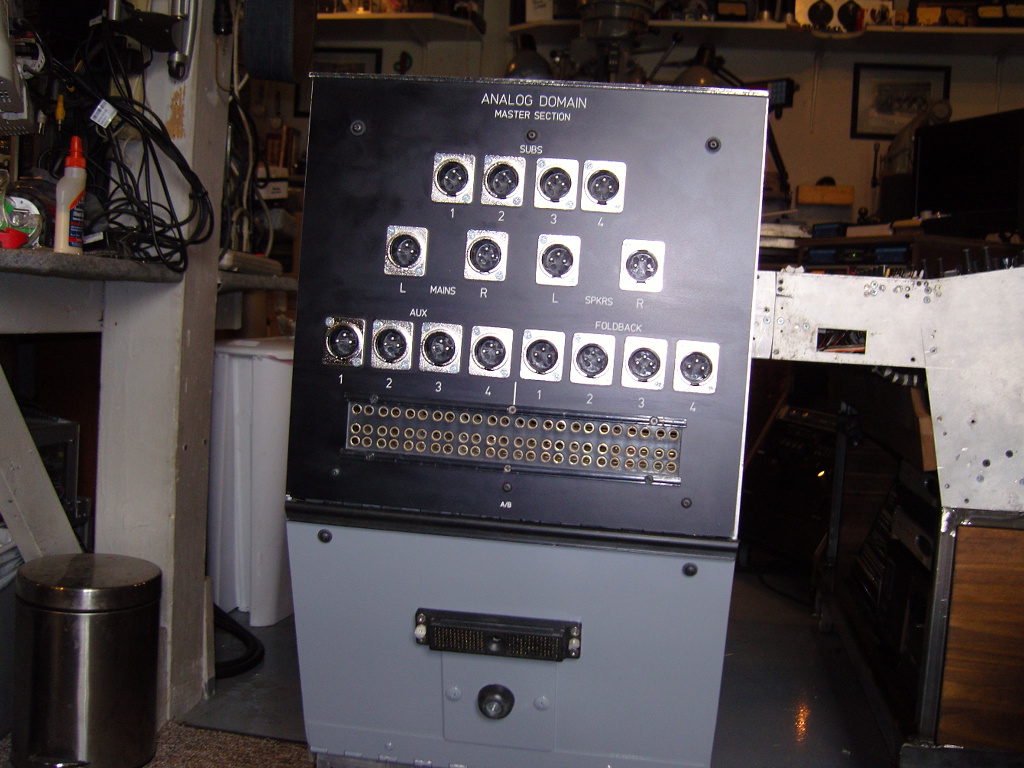
Master section
Roll-Around
___________________________________________________
I built Stereo Buss Compressors in for subs 1-2, 3-4, and L/R..
The sub buss compressors are SSL clones. The L/R buss compressor is of my design..
On the rear is a small patchbay so any reconfiguring is easy..
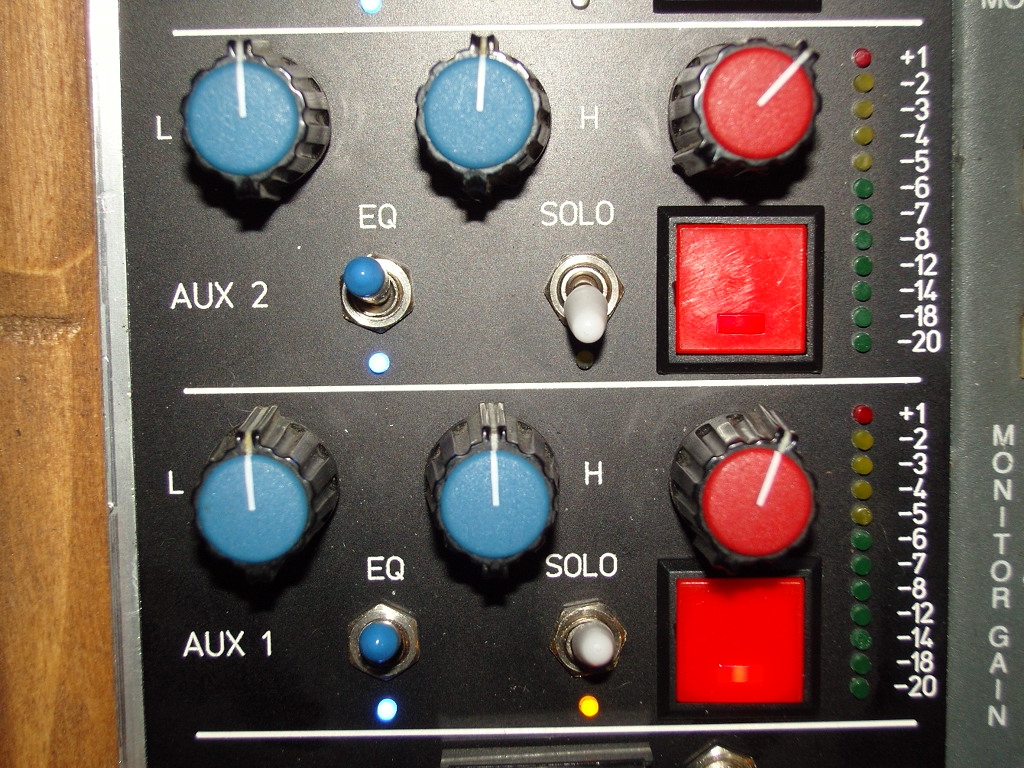
This is the finished AUX and Foldback module.
All sends have the A-range two band and a peak hold led bargraph.
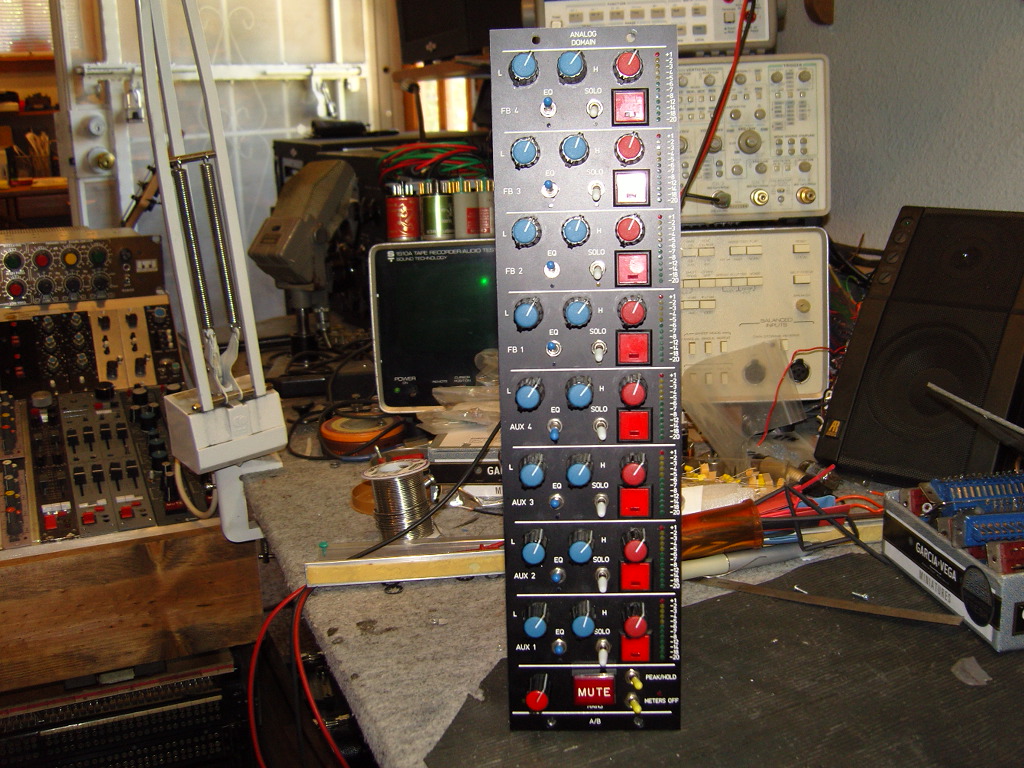
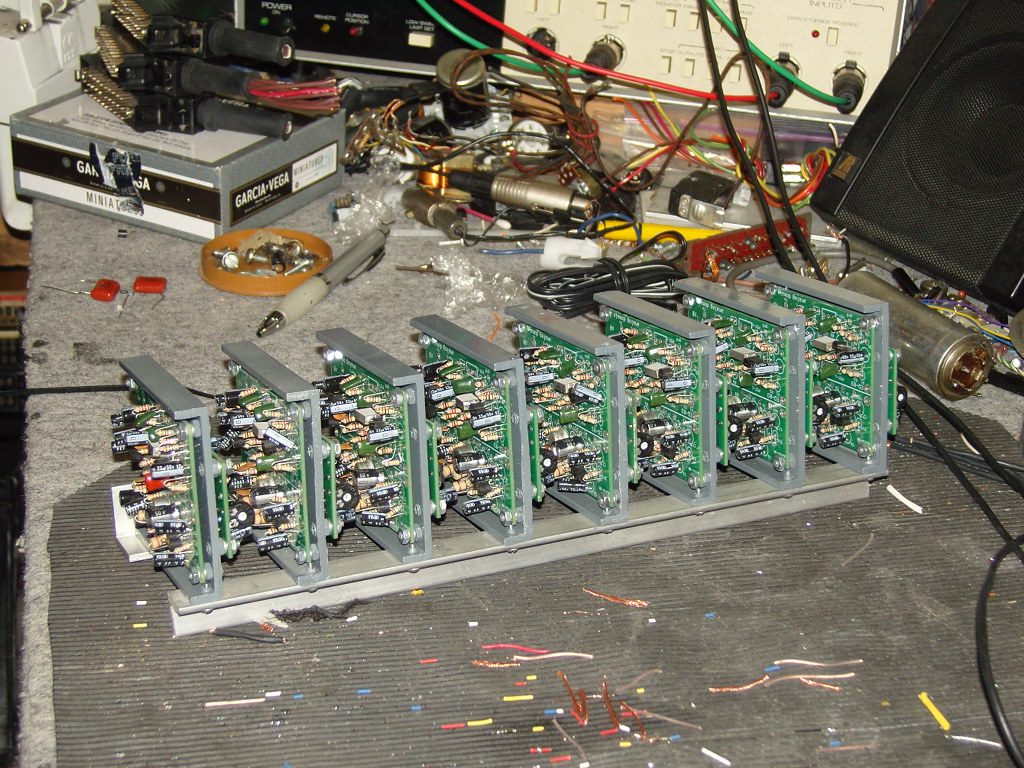
This is the aux and foldback electronics 1-8.
each module consist of 1 A-range op amp, 1 A-range 2 band eq, and
1 peak hold bargraph display driver..
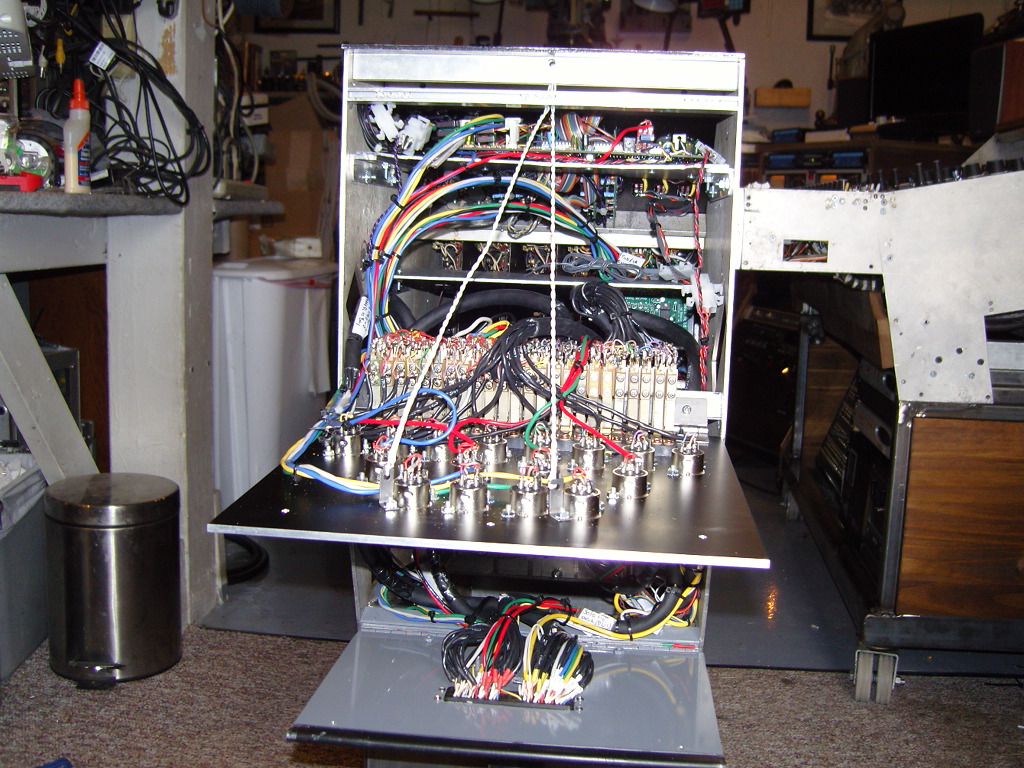
The submasters are now balanced out and have balanced in
for effect returns and sub and monitor ins.
The main outs go to the bay at the console.
On the back panel of the master section these are from a second winding on the output transformer
for access to a second outs if needed.
The bay on the back panel allows patching aux and foldback through the stereo compressors if needed
as well as repatching or access to Monitor and Eff returns .
Working on this stuff for years I have made everything as easy to service as possible.
all panels are hinged for easy access
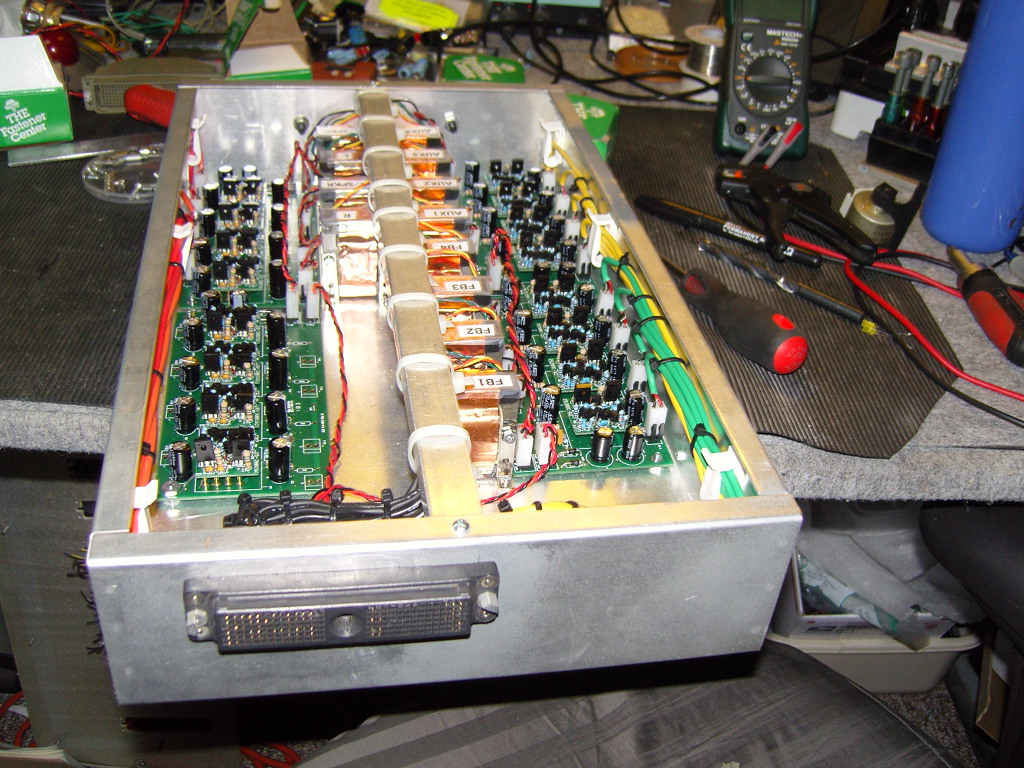
Mains
This is the plug in electronics for all outputs..
I decided to make all the outputs of the console ( foldback, aux, subs ) up to
the main L/R standards..
All outputs are API op amp and transformer.
This drawer slides into the Master section roll-around.
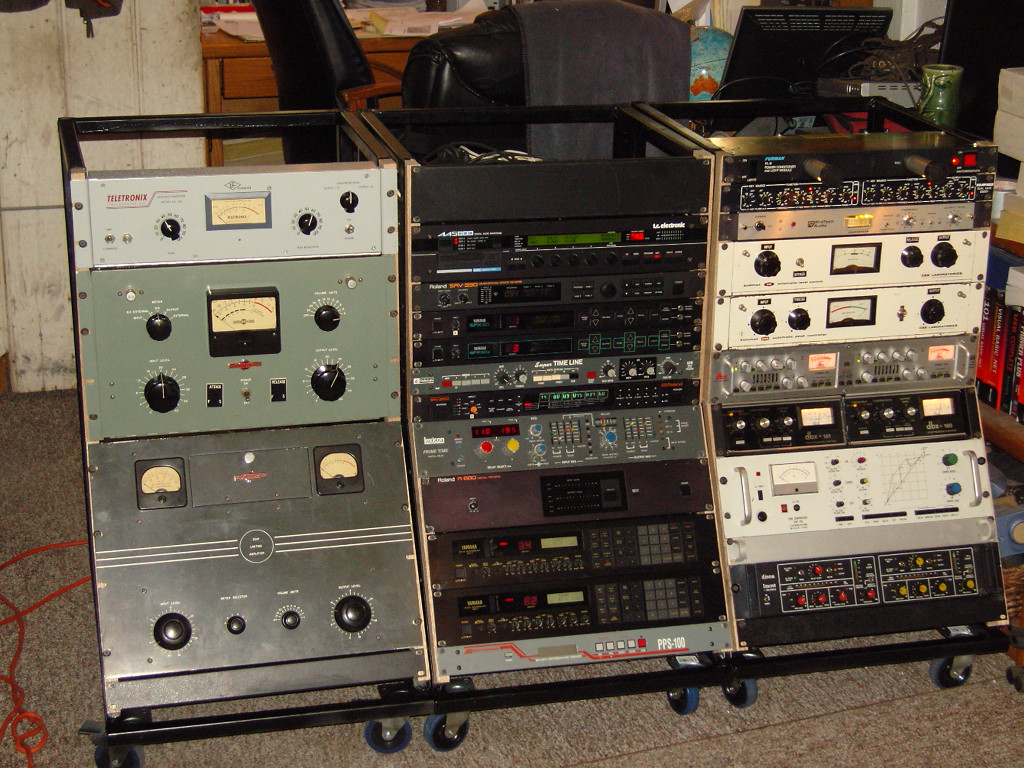
Some of the outboard racks
----------------------------------------------
3 of 7 ....
Thanks for looking! More, much more coming
![]()